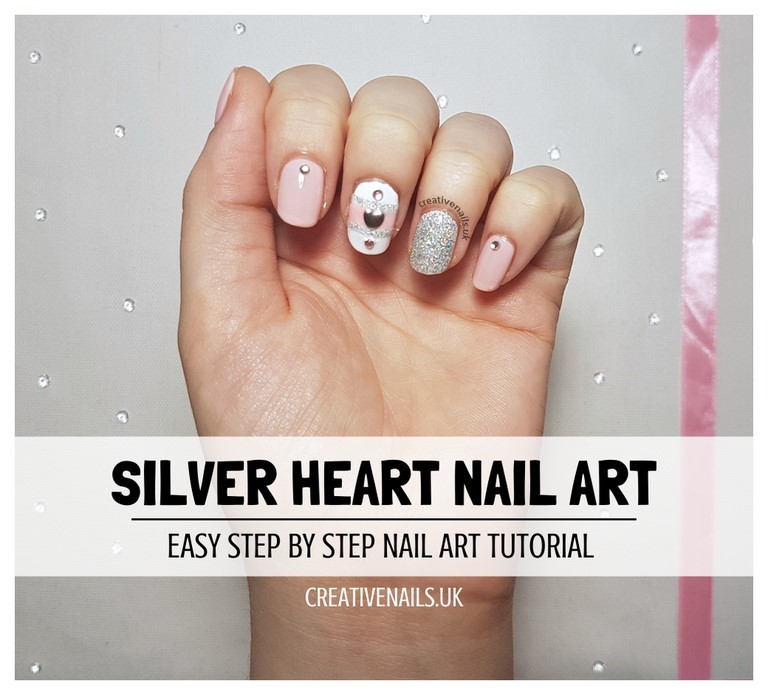
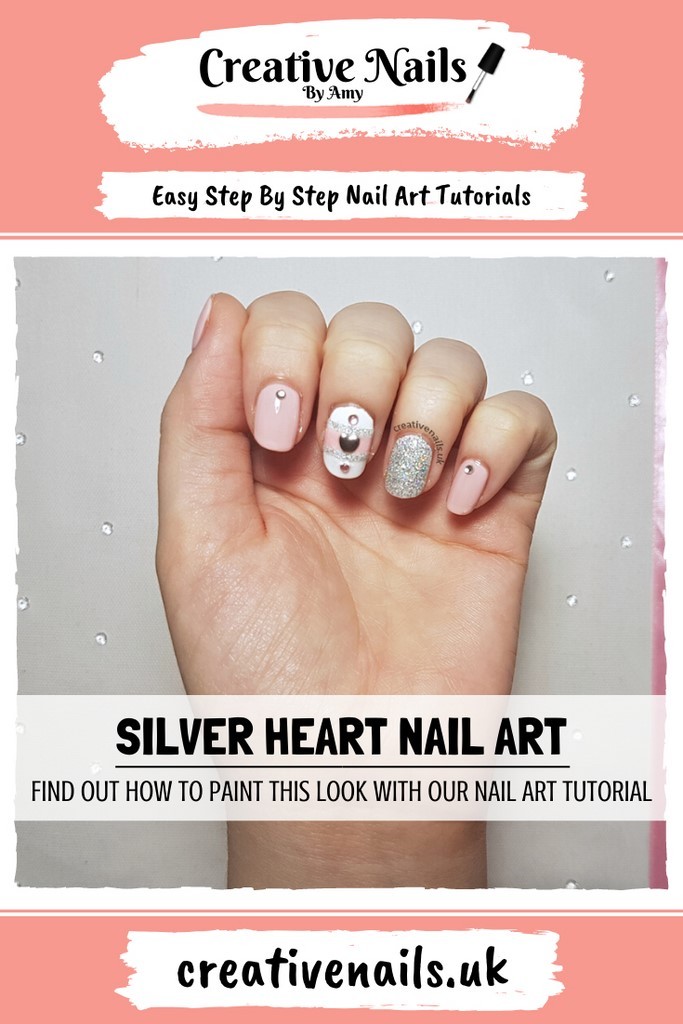
Silver Heart | Nail Art Tutorial
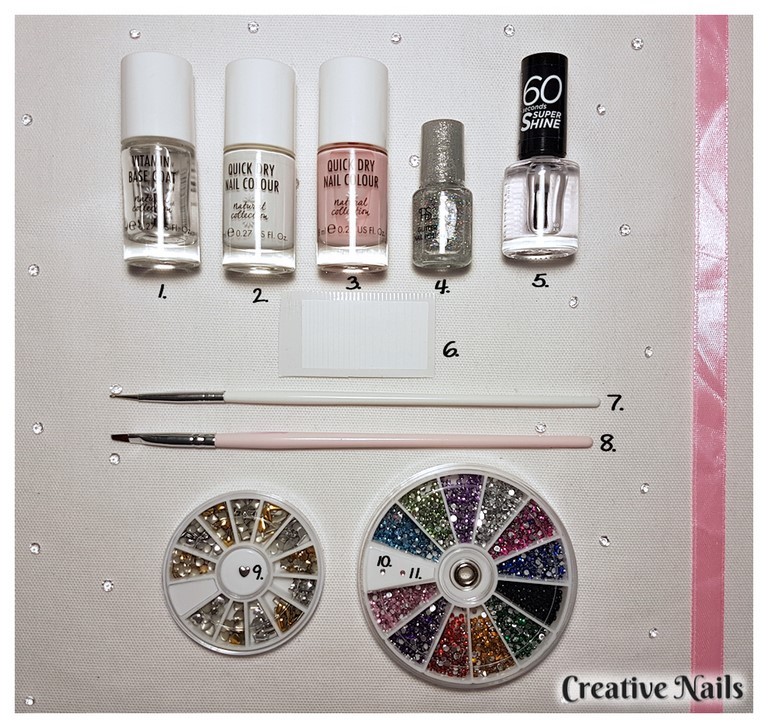
2. Quick Dry Nail Colour – Natural Collection – Nail Tip Whitener
3. Quick Dry Nail Colour – Natural Collection – Pink Manicure
4. Glitter Nail Polish – PS… – Sequin Dream
5. 60 Seconds Super Shine – Rimmel London – Clear
6. Straight Line Stencils
7. Dotting Tool
8. Flat Drawing Brush
9. Silver Heart Gem
10. Silver Gem
11. Pink Gem
Would you like this design painted on false nails for you?
If you can’t find this design with our other false nail sets in our shop, please contact me and I will happily sort it out for you!
Now lets show you how we created this silver heart nail art!
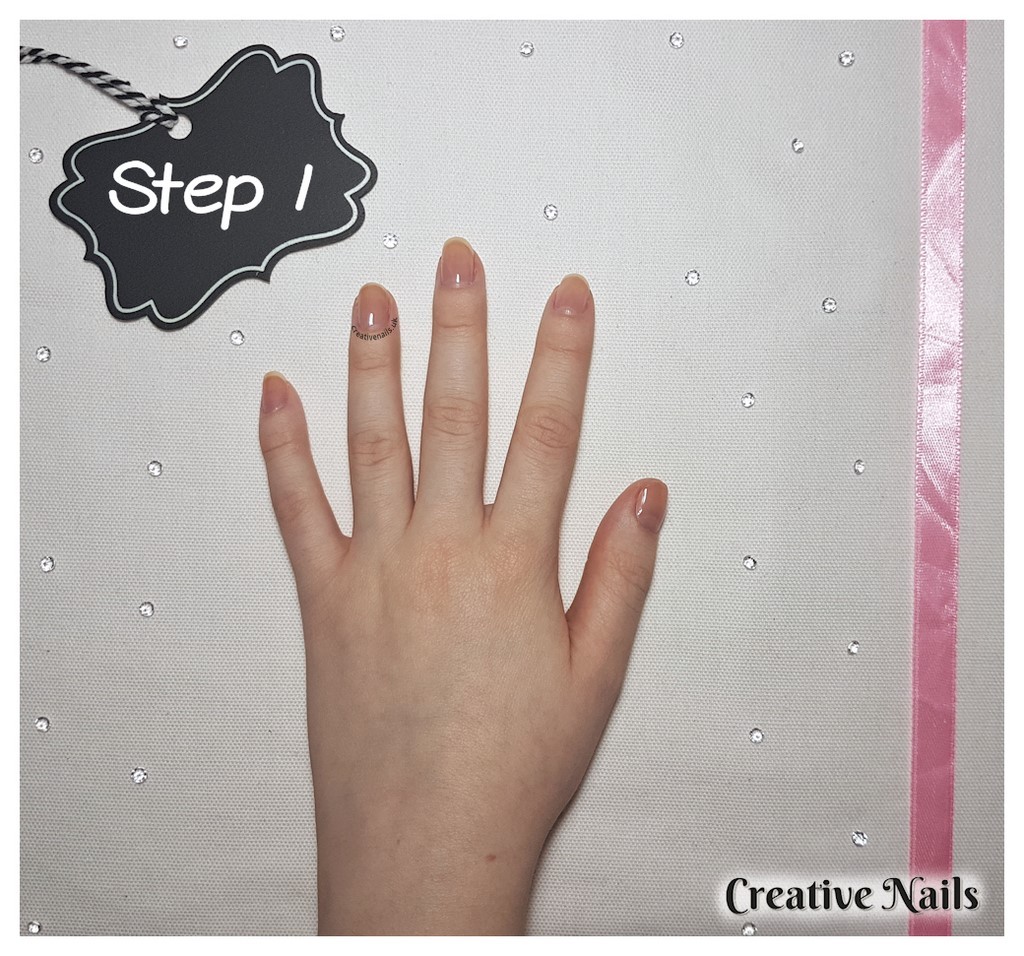
step 1
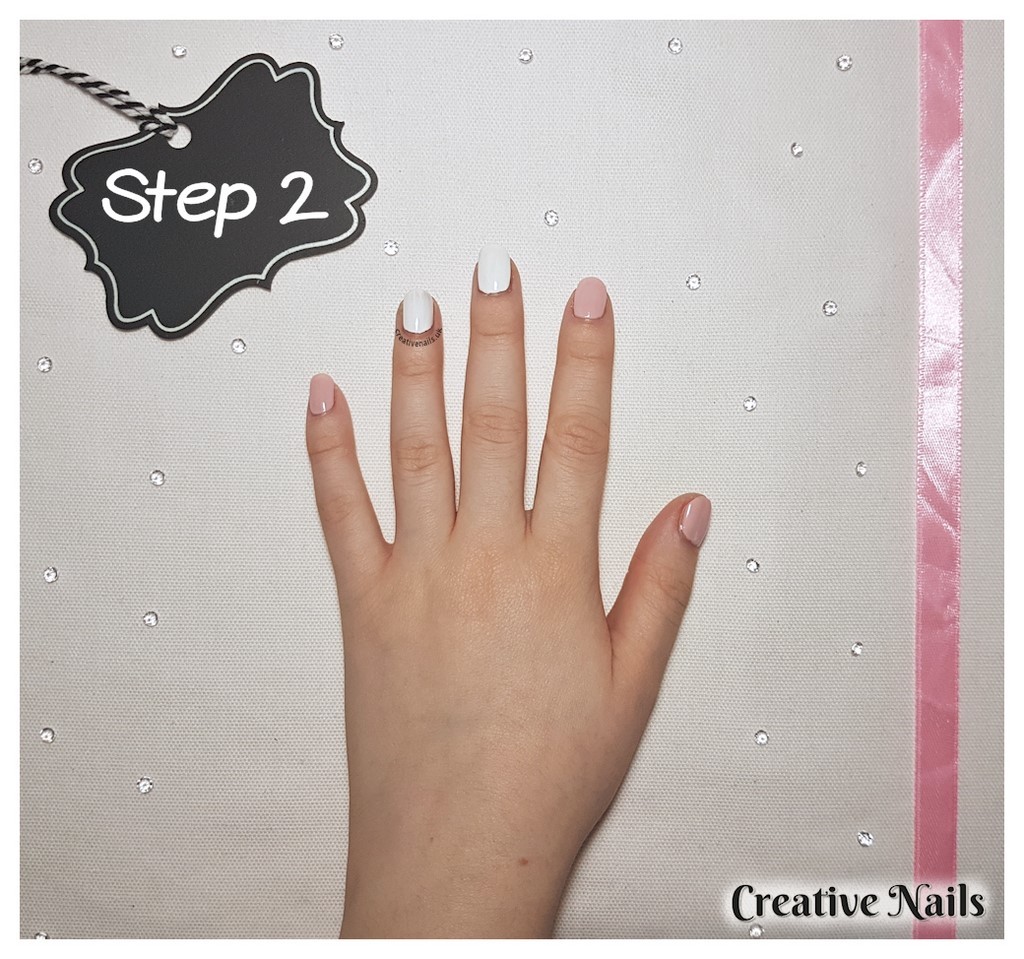
step 2
We recommend you apply two thin coats rather than one thick one as the thicker the coat, the longer it will take to dry.
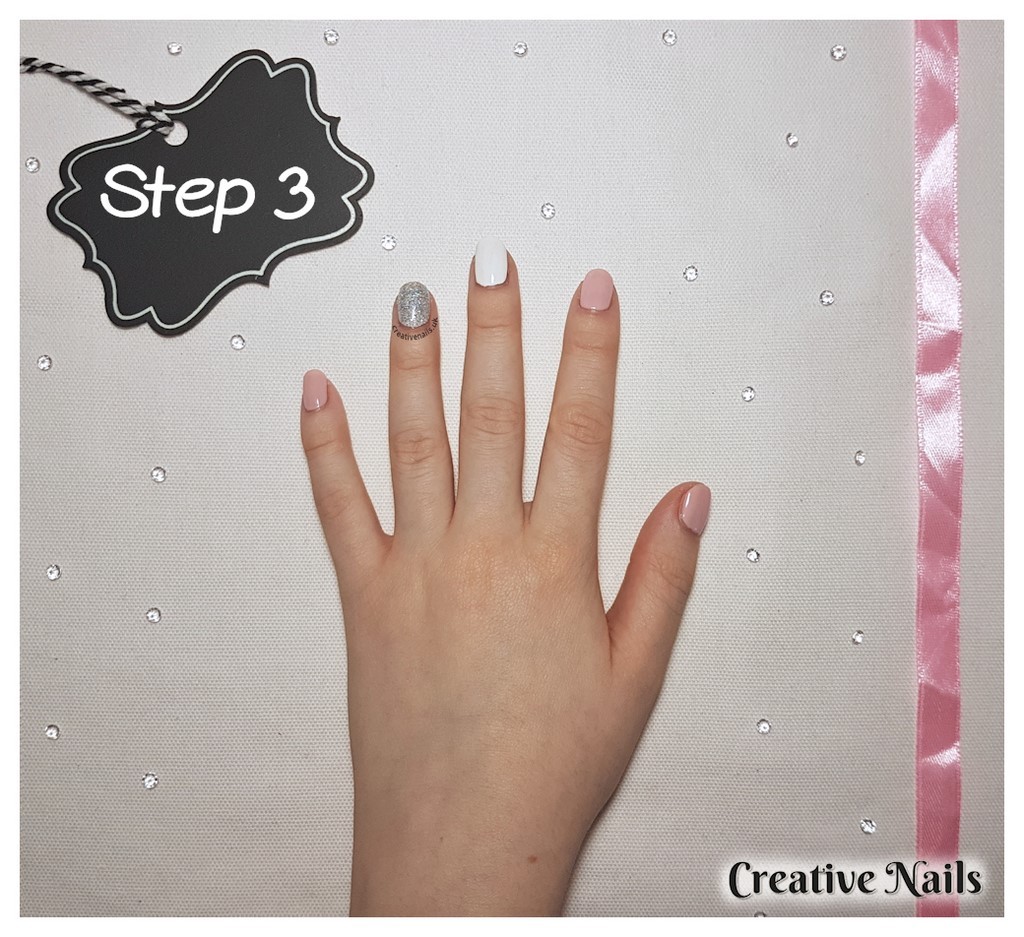
step 3
* If you do use this silver glittery nail polish – we did have to paint on a few layers on to create the look we did.
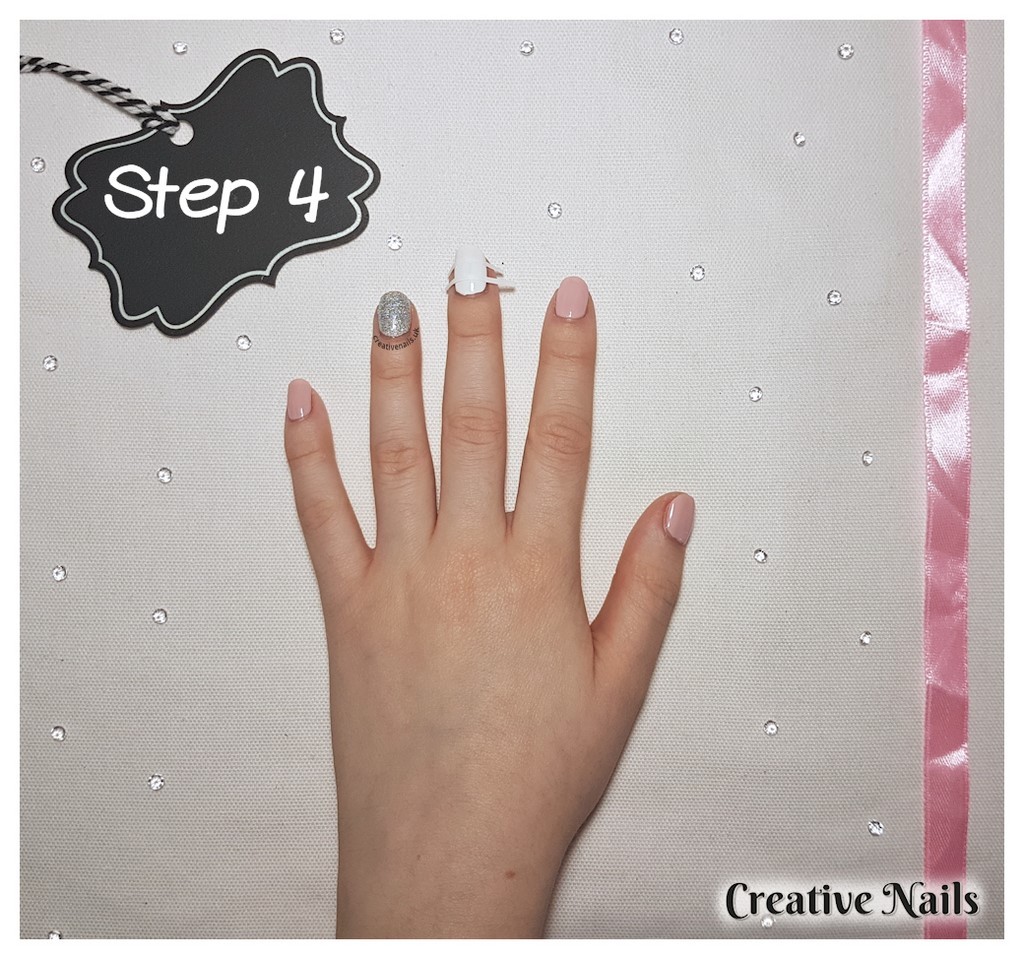
step 4
It is important you make sure your nail polish is dry before you place it over your nail as this could take your nail polish off!
* We did make sure this stripe would be bigger then the heart gem that will be going in the middle of it (as you can see in the final image).
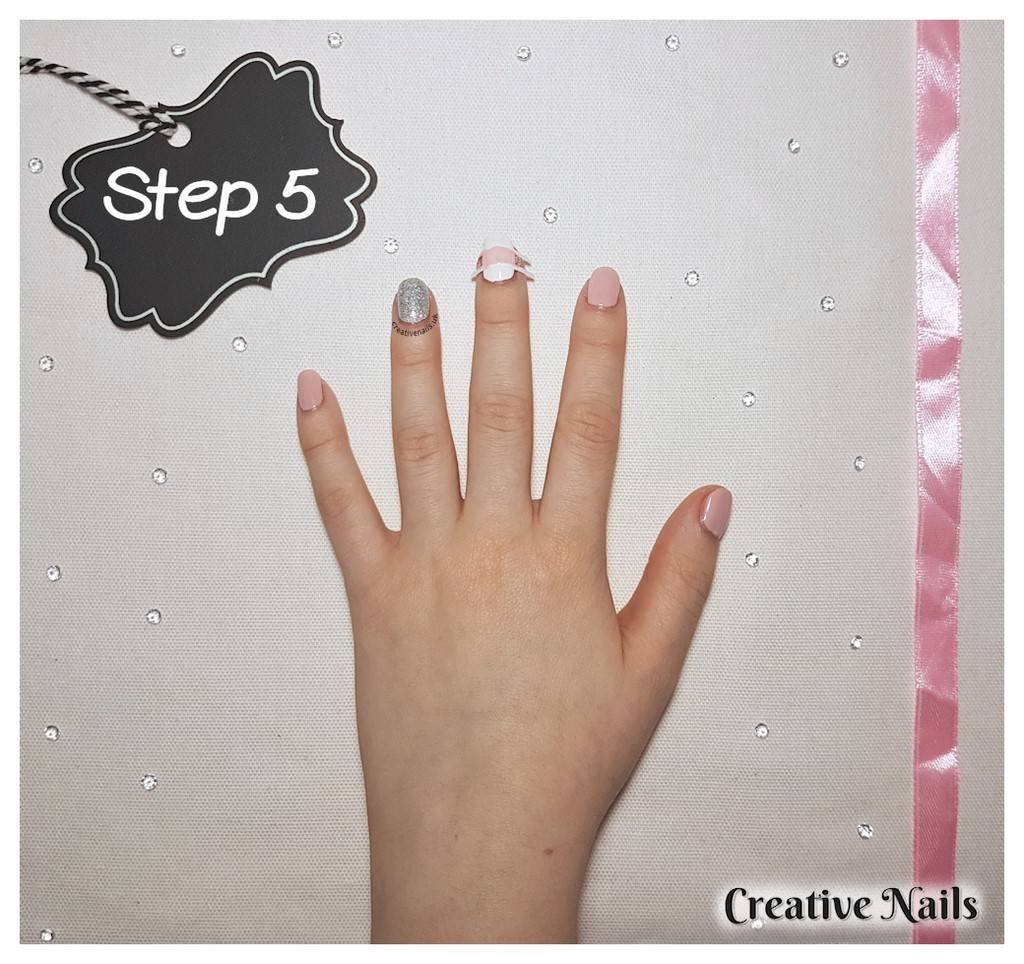
step 5
* When you are painting on the nail polish on, don’t worry if you get some on the stencil – it protects that part of your nail!
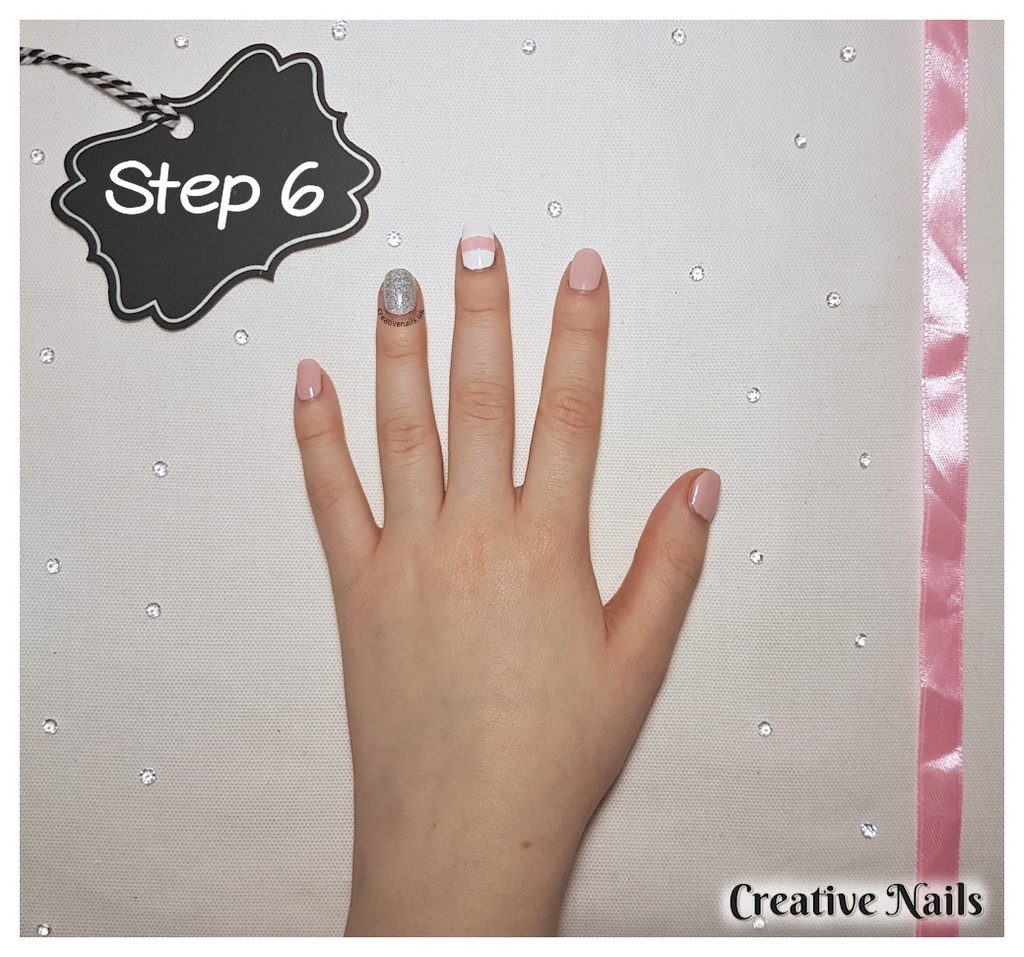
step 6
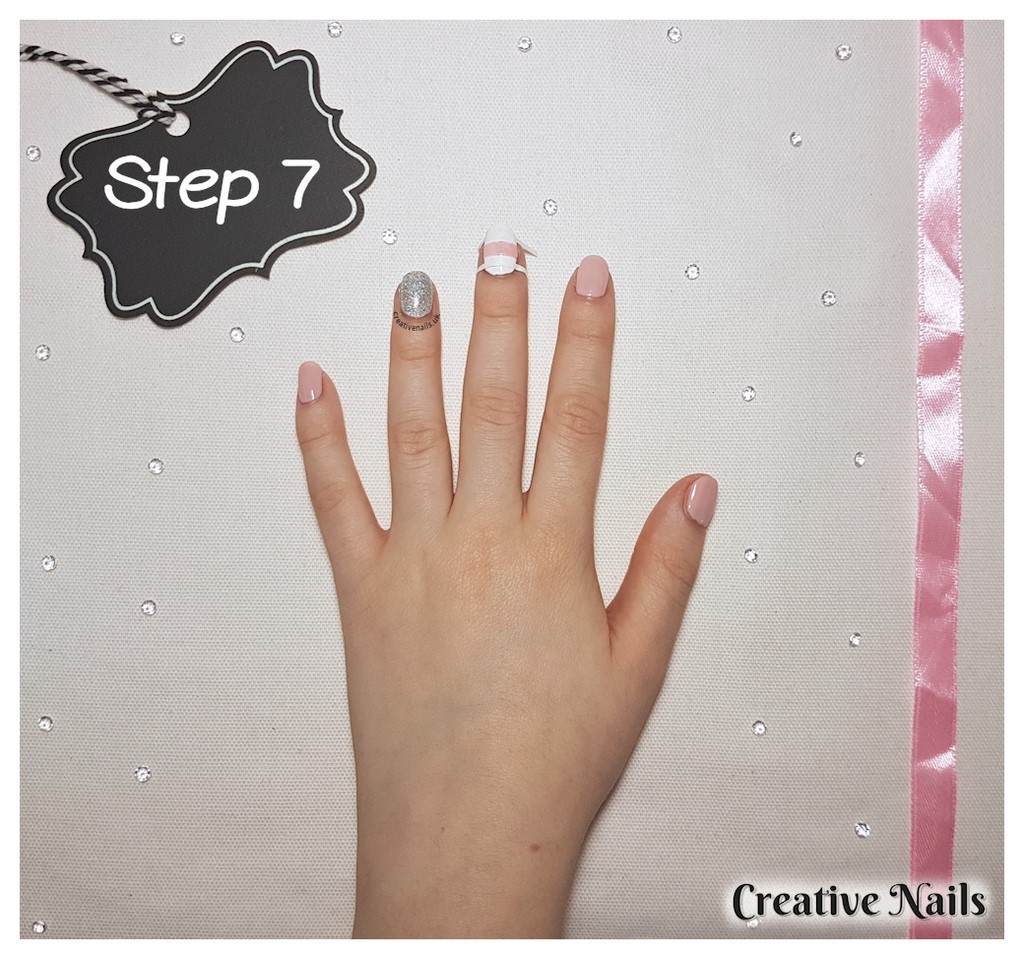
step 7
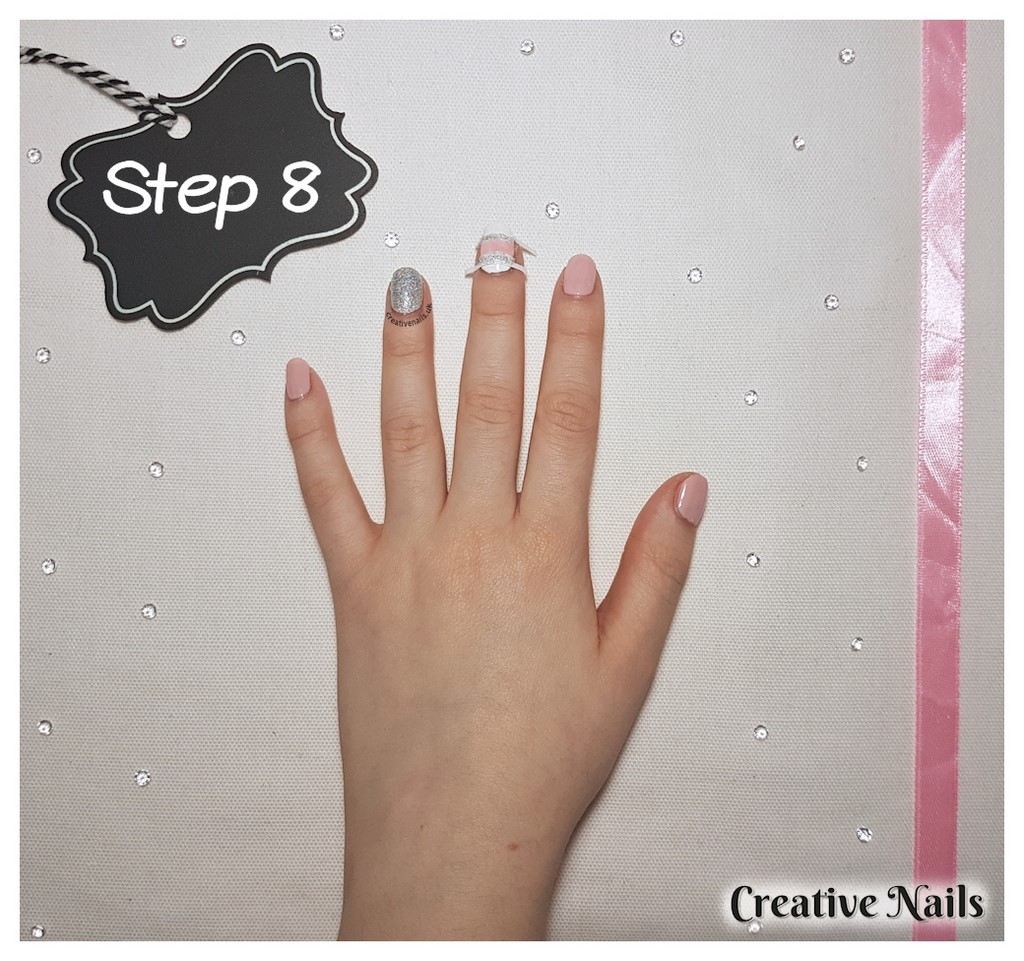
step 8
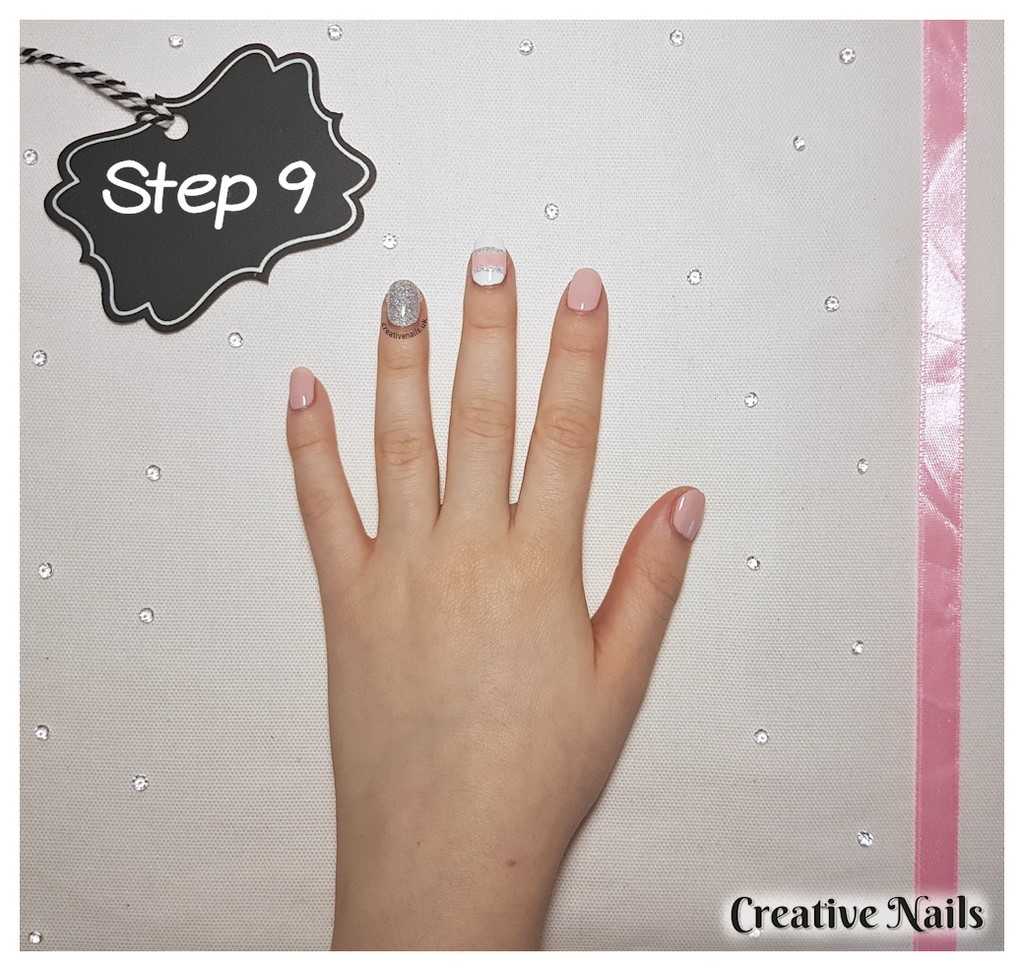
step 9
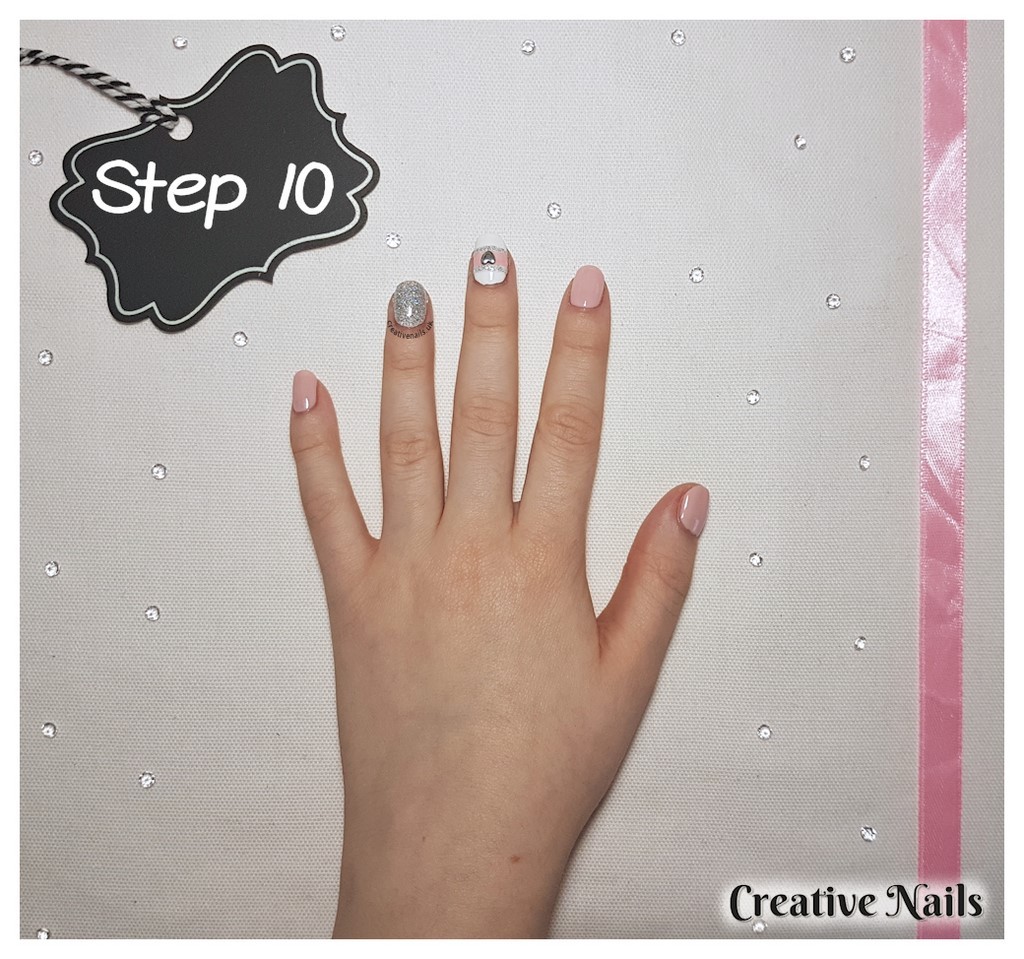
step 10
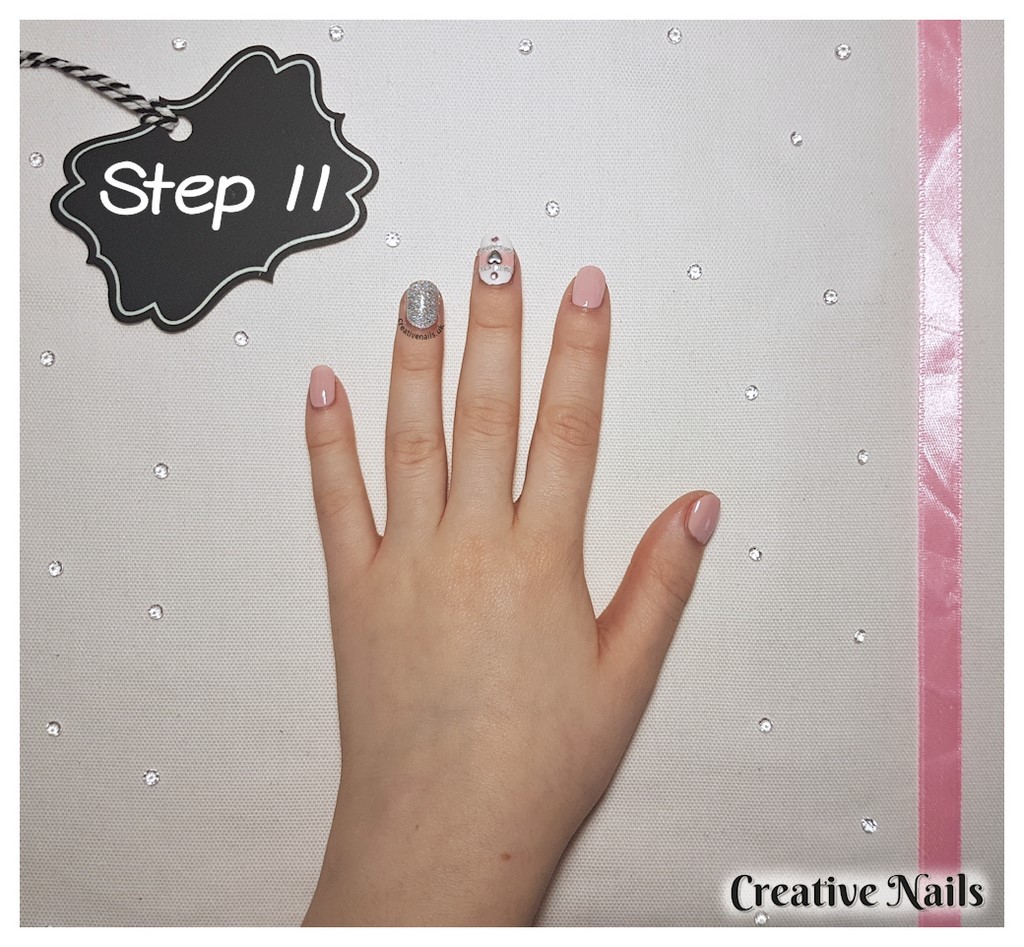
step 11
* If the top coat nail polish is already dry, you may need to add a little bit extra where you want the jewels to be to help them stick to the nail and make it secure.
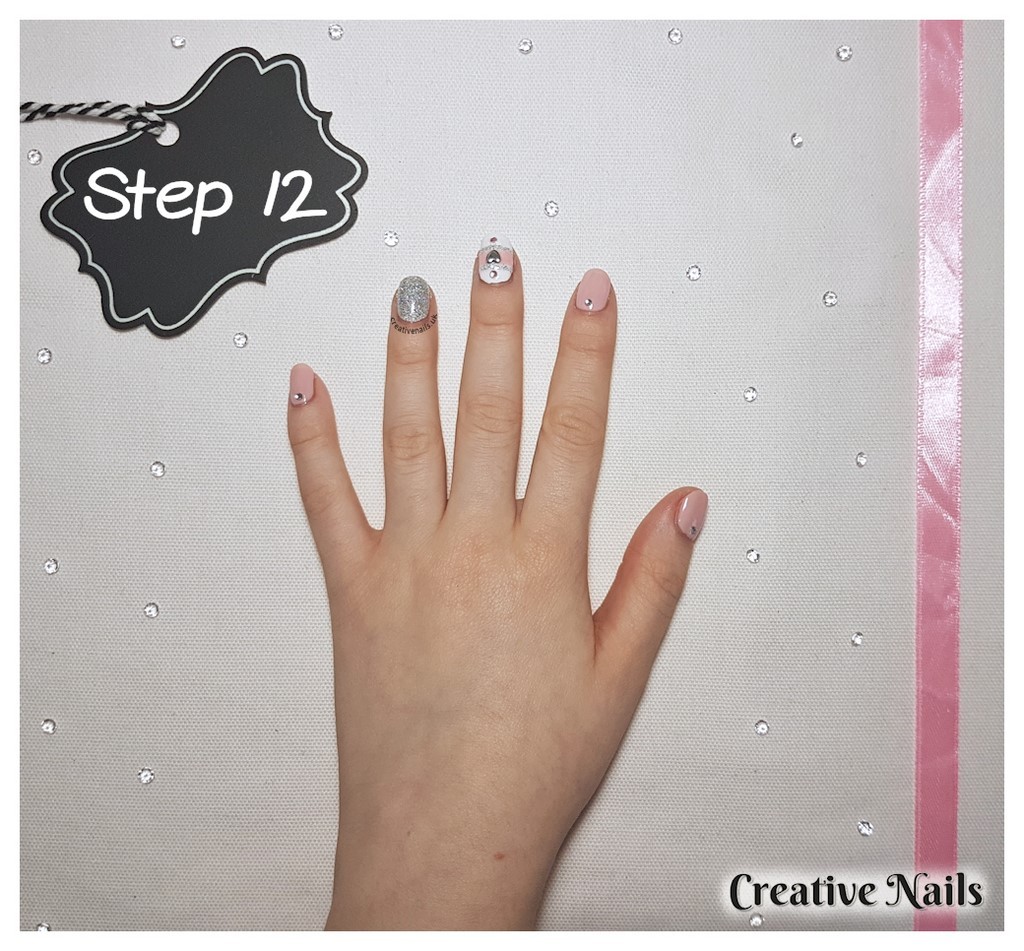
step 12
* Once you are happy with where the gems are placed, you can apply another layer of the top coat to make the gems more even more secure.
Now it’s your turn! Have you created this look? We’d love to see it – tag us on Twitter and Instagram!
Twitter | Instagram | Facebook
Pinterest | Bloglovin’


